
Make your own printing stamps

Print your lettering on a shirt, decorate a card or repeat a pattern across a tea towel. Explore real linoleum, wood and cork stamps, then draw a simple raised-ring stamp in Easel.

Explore the stamps

Start from a blank workpiece

Leave a raised ring on a recessed backing

Start with an added blank workpiece in the real Easel editor. Give a two-inch square a shallow pocket cut, place a larger zero-depth circle over it, then add a smaller circle with the same pocket depth. The preview shows the raised ring left between the circles. You will still need to choose material and a cutter, secure the block and plan its final outer cut before carving.

The real Easel editor gains a recessed square backing and two nested circles, leaving a raised ring visible in the native 3D preview.
Recorded in the Easel editor, shown at 3× speed.

Print cards, letter a shirt or carve a cork

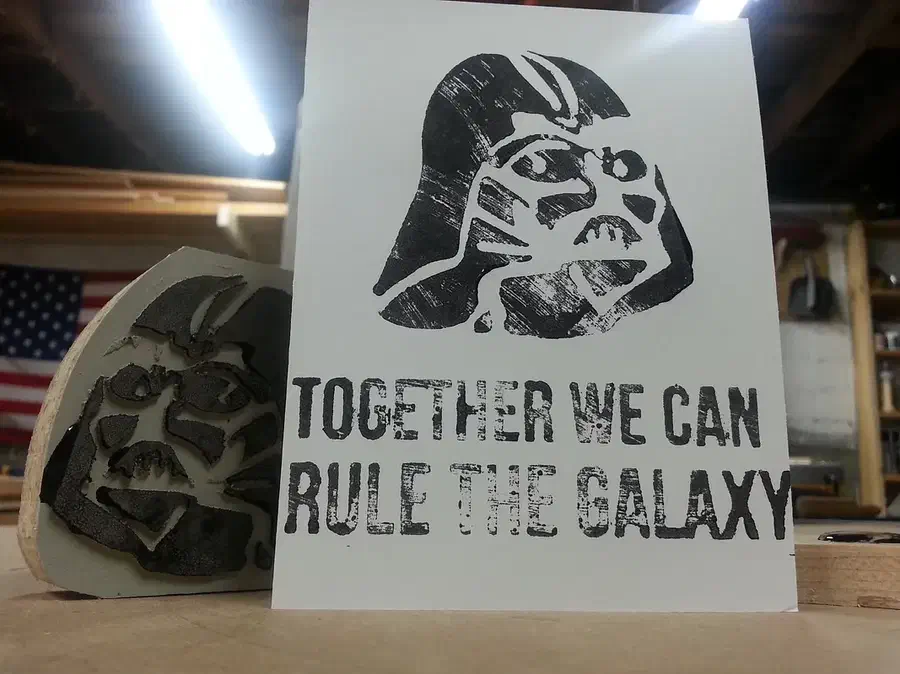
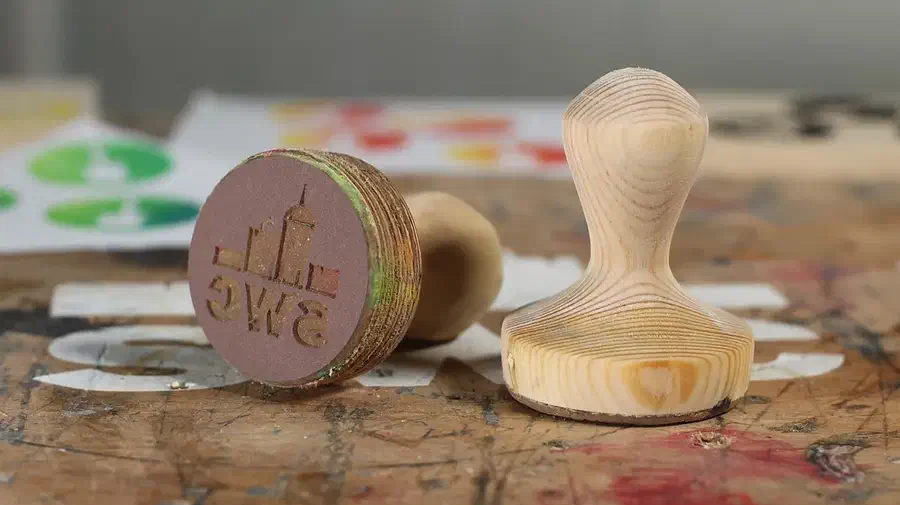
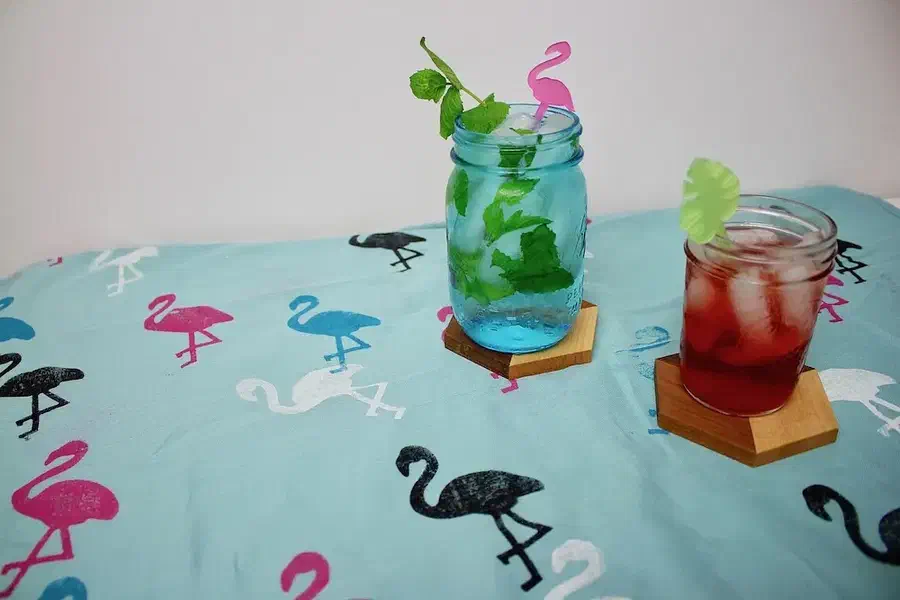
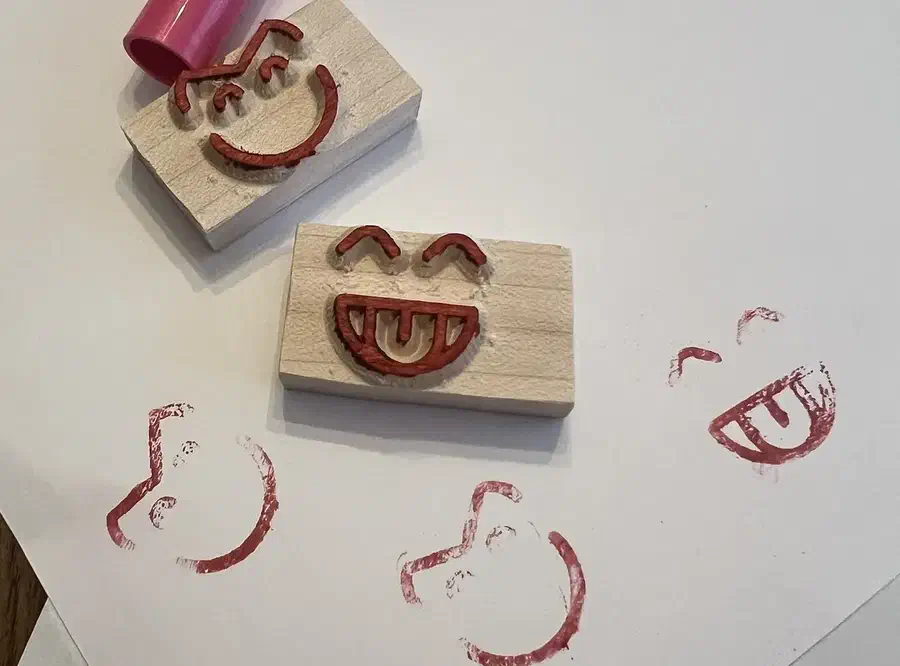
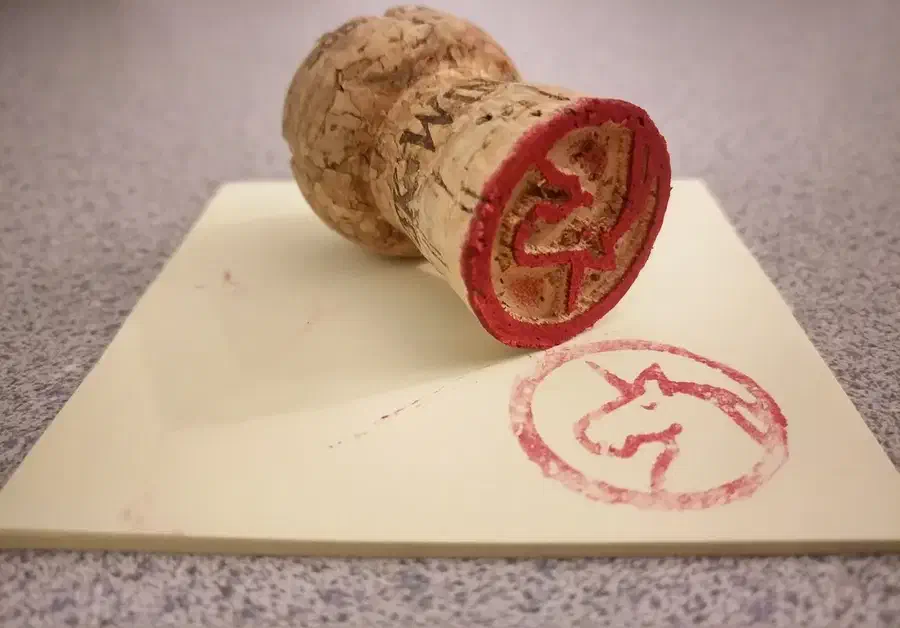
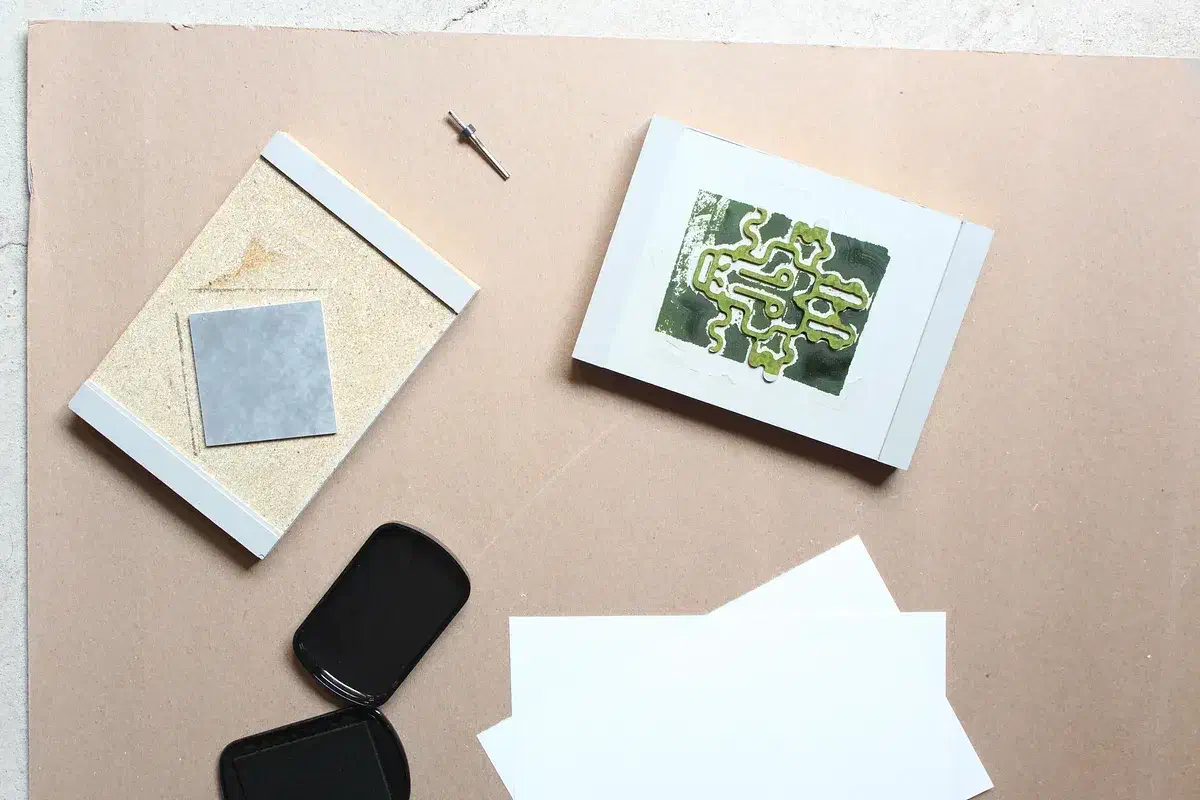
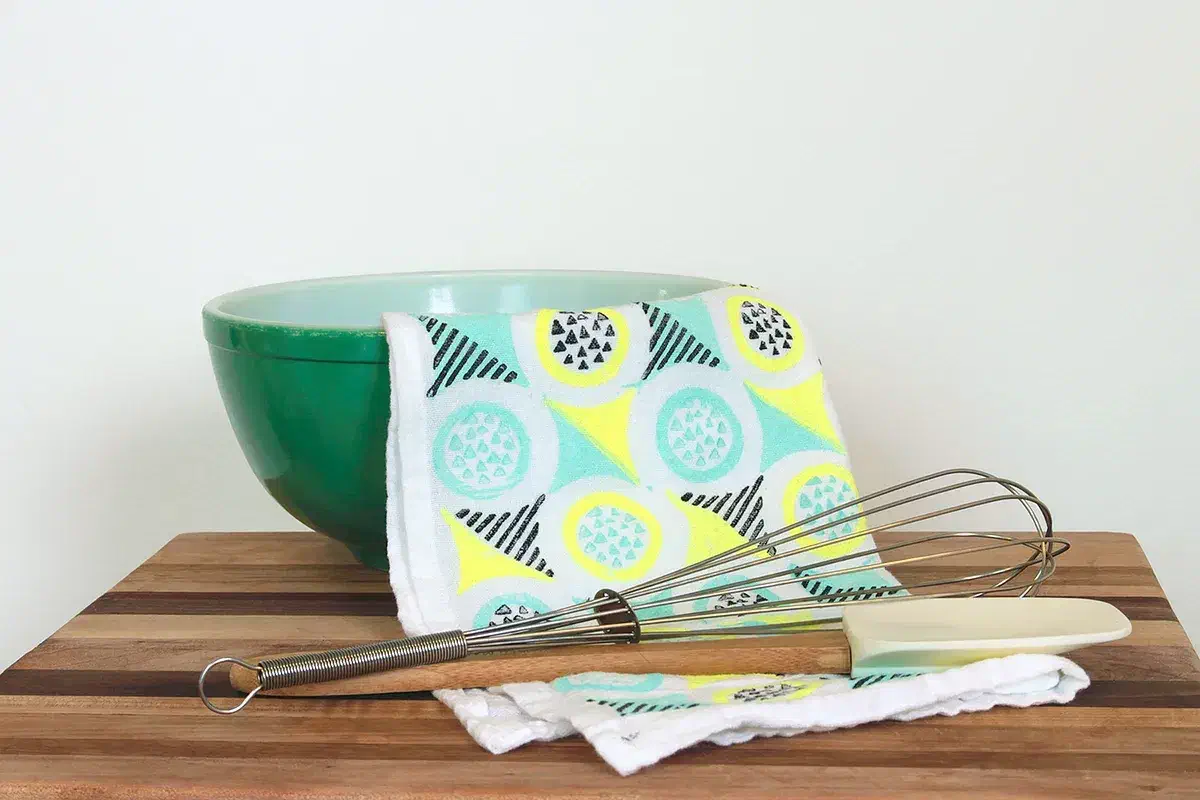
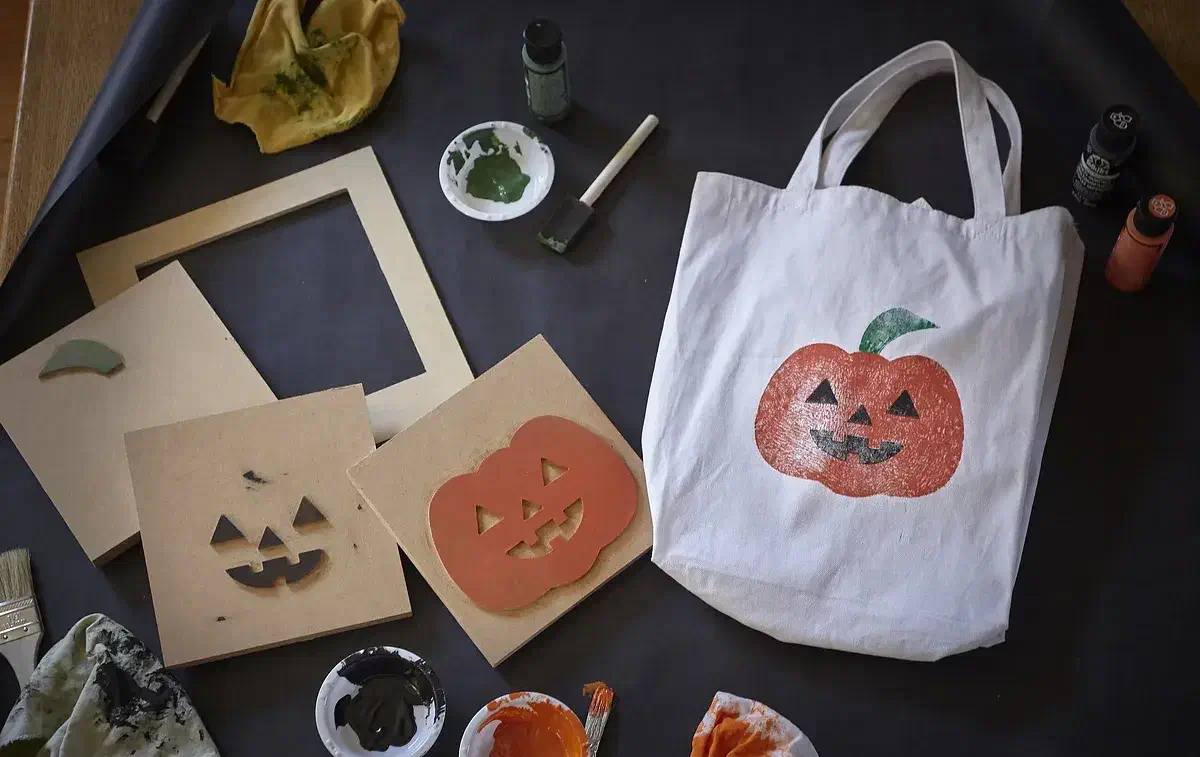
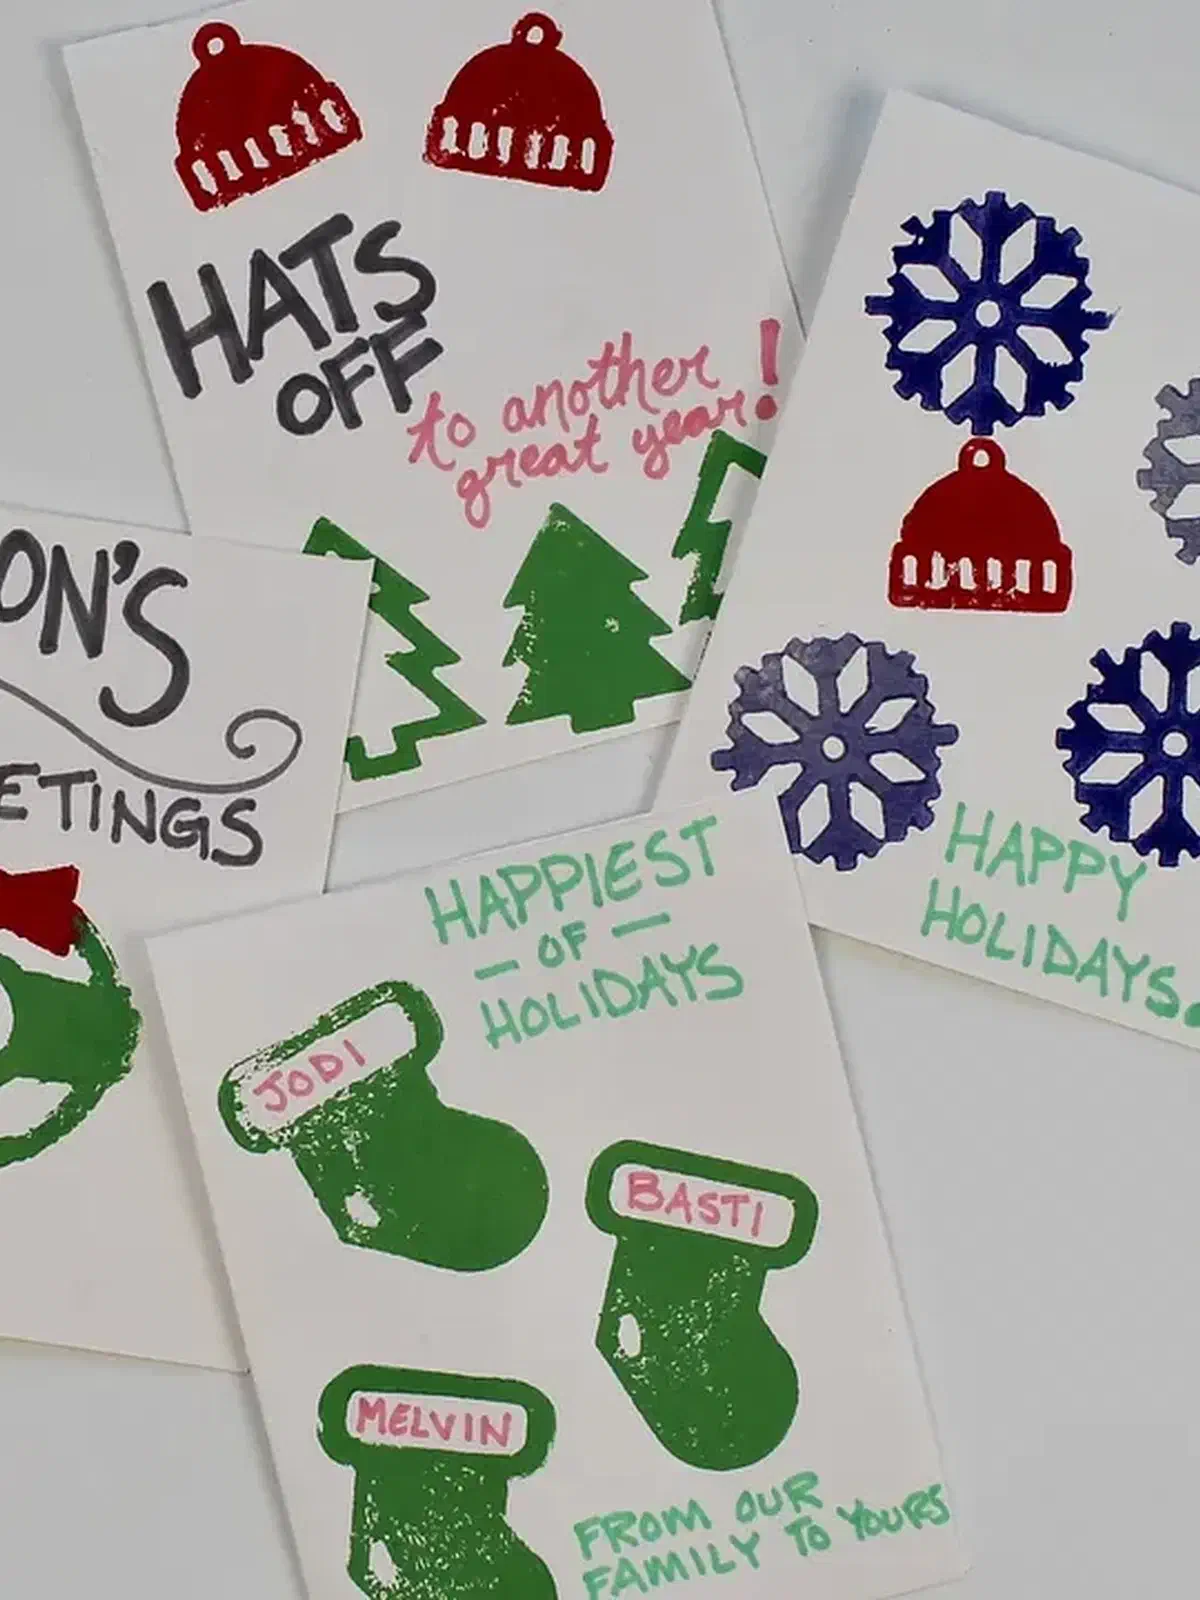
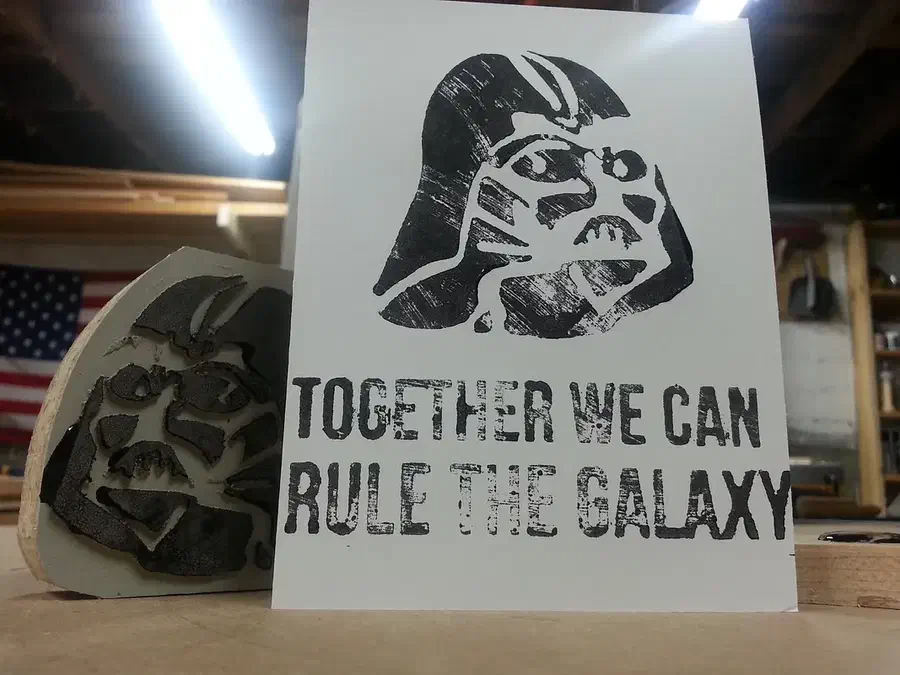
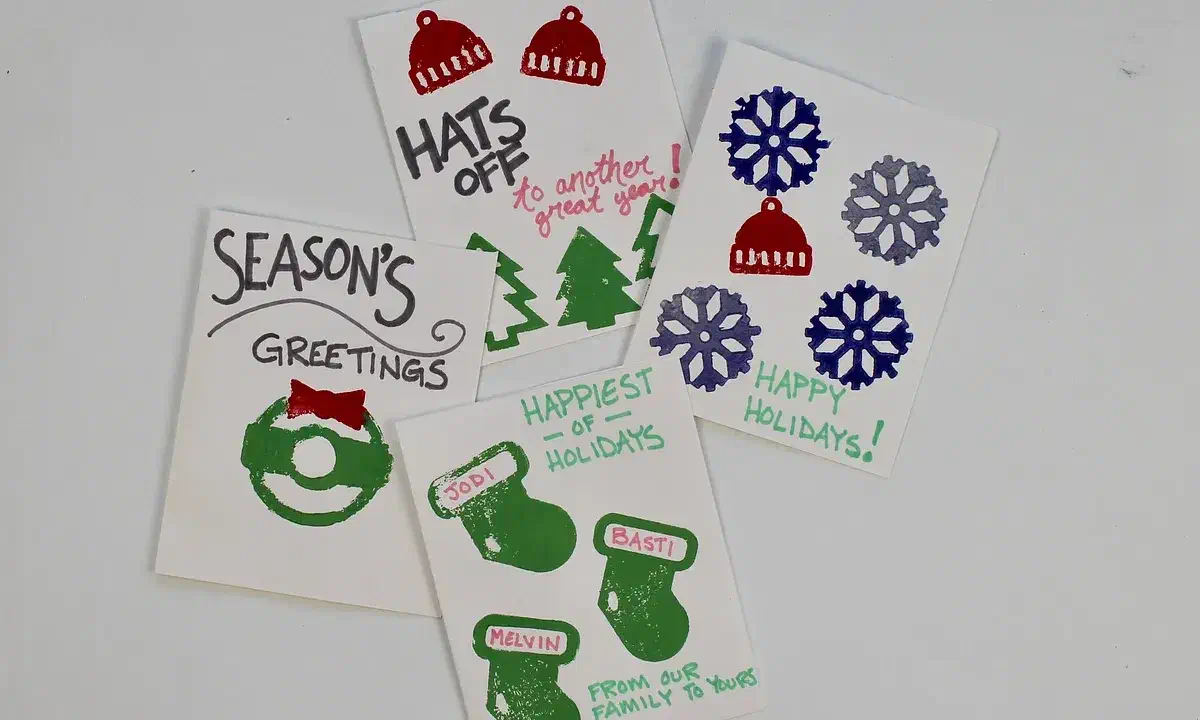
Each example shows a physical stamp or its printed result. The shared files supply the printing designs; individual cards explain separate handles, backing cuts and material adjustments.

See more stamp projects in the Easel gallery

Mirror text, choose ink and clear small recesses

These makers’ notes and discussions help you turn the carved face into a cleaner impression.

Mirror lettering after you finish the design

Justin Robbins designs his gift-stamp lettering normally, then flips the text horizontally before carving. That makes the impression read from left to right. Mo Stych gives the same reminder for her handwritten shirt stamp. Keep an ordinary reading copy while you arrange the lettering, then mirror the final printing face.

Project notes by Justin Robbins: read the source.

From X-mas Gift Stamps by Justin Robbins.

Ask a question

Match the ink to the surface you want to print

Stych uses fabric block-printing ink and a rubber roller for tea towels. Lucia found his pigment pad gave a faded card print, so he used acrylic craft paint instead; Matthew Nuss suggests block-printing ink in the same discussion. These are different makers’ results, not a promise that one ink suits every surface. Try the medium on a scrap of the paper or fabric first.

Project notes by Mo Stych: read the source.

From Festive Stamps for DIY Tea Towels by Mo Stych.

Ask a question

Remove linoleum curls with a small file

Stych uses a small file to remove stray linoleum curls after carving. She finds it easier than sandpaper on this material. Lucia also clears chips from tight corners with an awl or nail. Clean those small recesses before inking so loose material does not interrupt the printed design.

Project notes by Mo Stych: read the source.

From Festive Stamps for DIY Tea Towels by Mo Stych.

Ask a question

Seal porous MDF before you add ink

Paxman seals his MDF printing blocks with shellac before inking. He explains that unsealed MDF soaks up the ink and gives a rougher impression. Seal the carved block before adding printing ink, rather than trying to fix the surface after the print is finished.

Project notes by Steven Paxman: read the source.

From Rustic 3-color block printing by Steven Paxman.

Ask a question

Start creating with your CNC

Create your free Easel account and connect your machine in minutes.