Make your own fidget spinner

Choose wood inlays, coin weights or an acrylic body that lights up. Explore real maker projects, then see how to draw a simple three-bearing body in Easel.

Explore the spinners

Start from a blank workpiece

Draw a bar spinner around three bearing openings

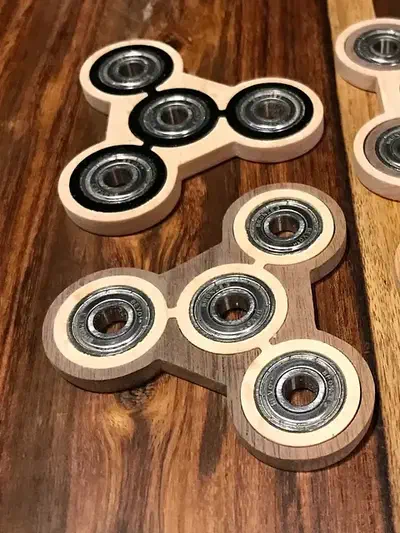
Start with a blank workpiece. Resize a square to a 3.2-by-1.2-inch rectangle, then add three 22 mm circles in a row. Give the rectangle an outside cut and set the circles to the full stock depth. The real Easel editor and 3D preview show the body and openings as they are added. This is a basic body-design demonstration on a new unsaved workpiece, not a copy of Sean Grega’s spinner. Test bearing fit in scrap and soften the finished edges before assembly; finger pads and cutting setup are separate.

A genuine blank Easel workpiece gains a rectangular bar-spinner outline and three circular through-openings beside the native 3D preview.
Recorded in the Easel editor, shown at 3× speed.

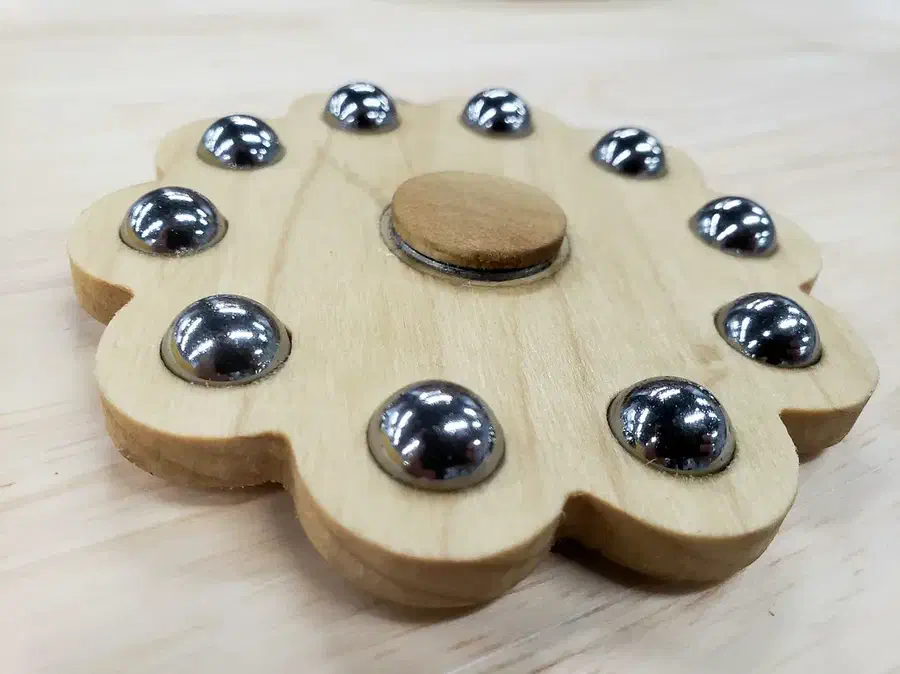
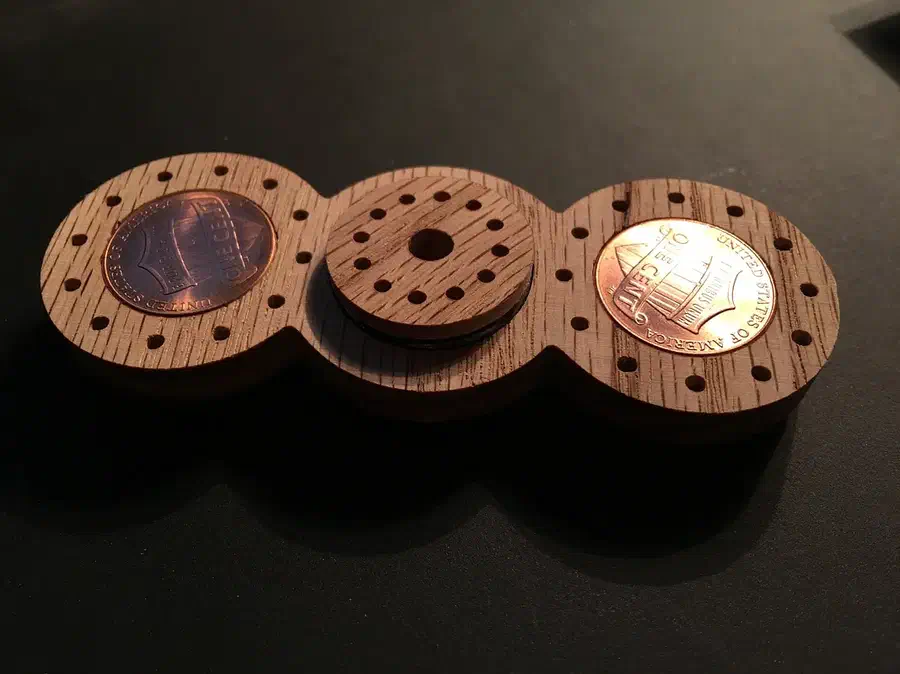
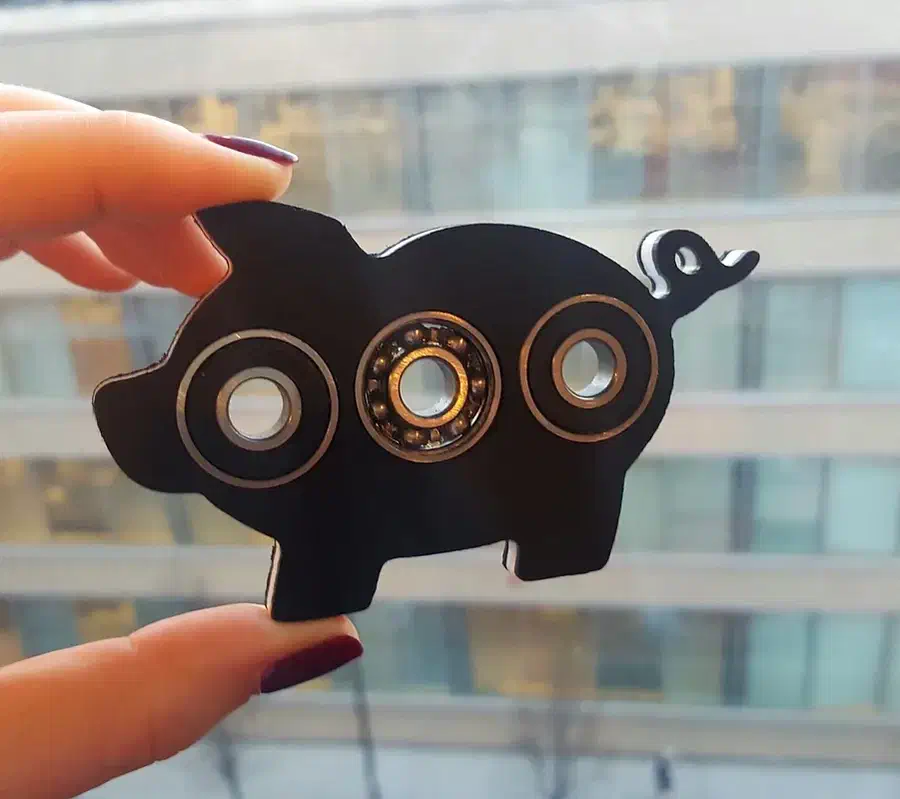
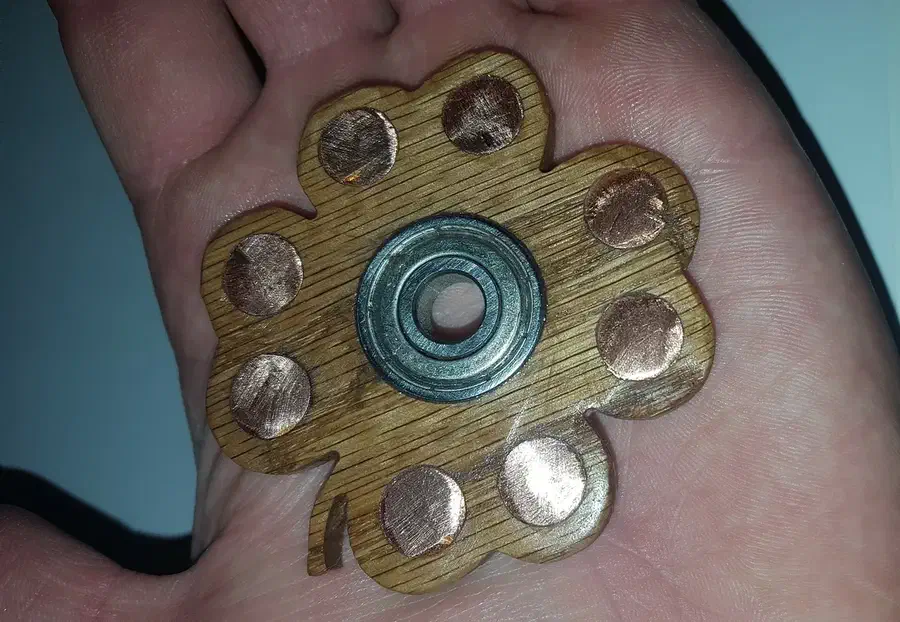
Choose inlays, metal weights, a playful outline or lights

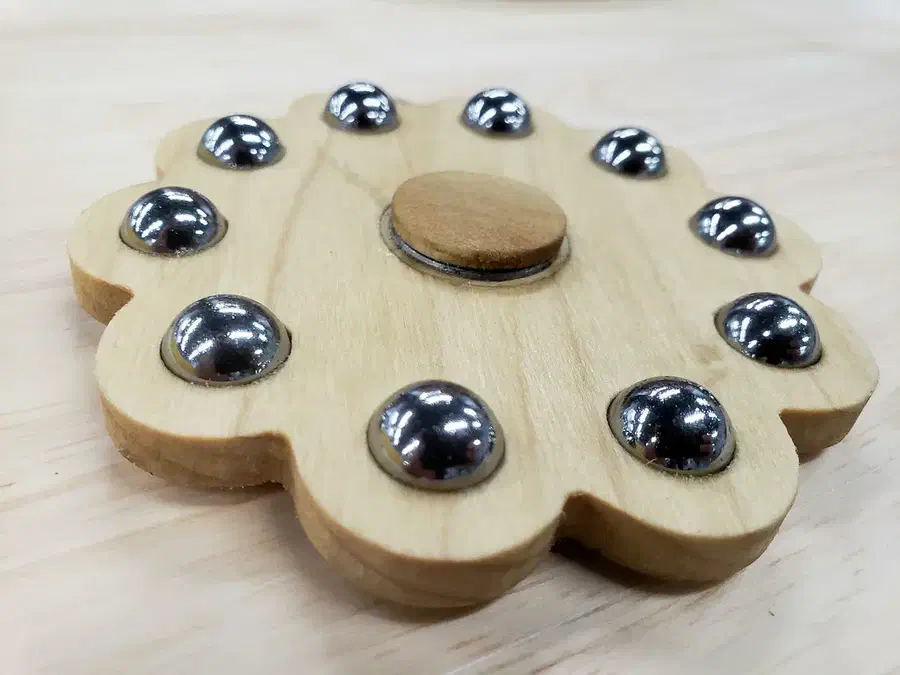
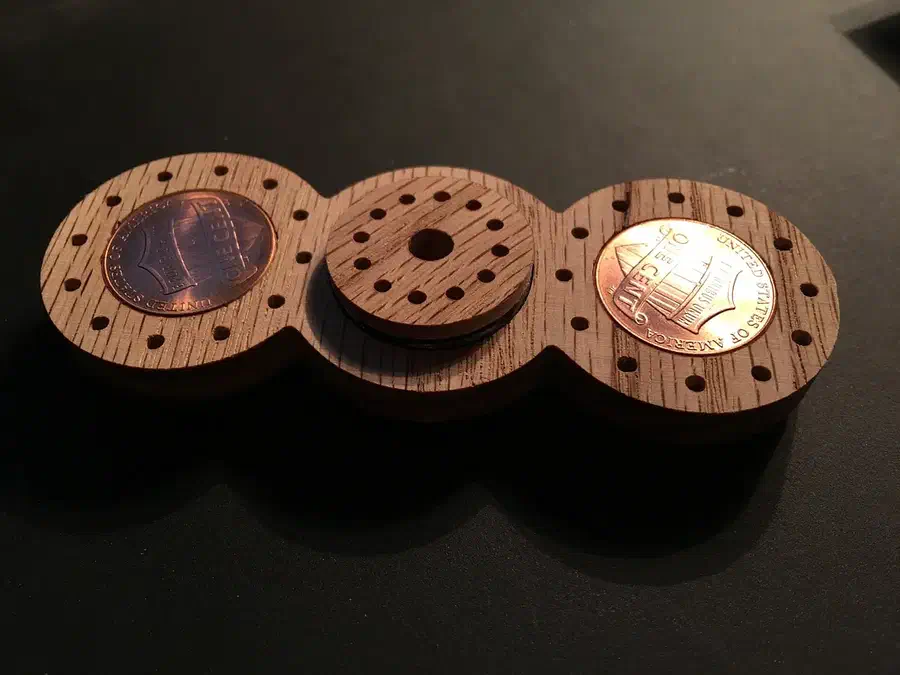
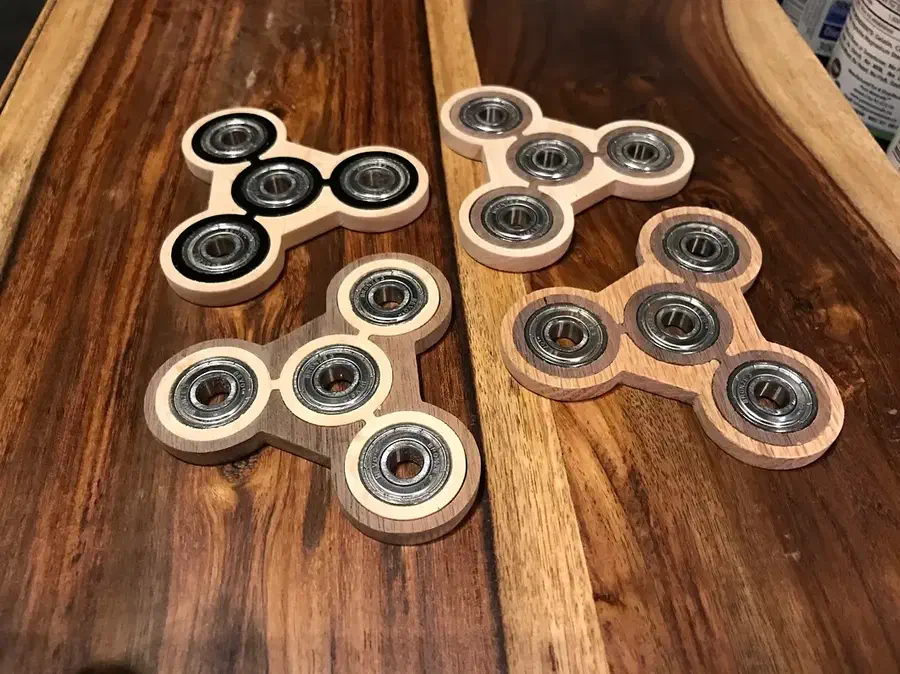
These finished builds use different body materials and hardware. Each shared file has a clear scope, from flat body shapes to a separate set of finger pads.

See more fidget projects in gallery search →

From the makers’ instructions

Keep the body spinning freely and the light easy to test

Read the project discussions without an account. Log in to post a question; replies are not guaranteed.

Leave clearance between the pads and the spinner

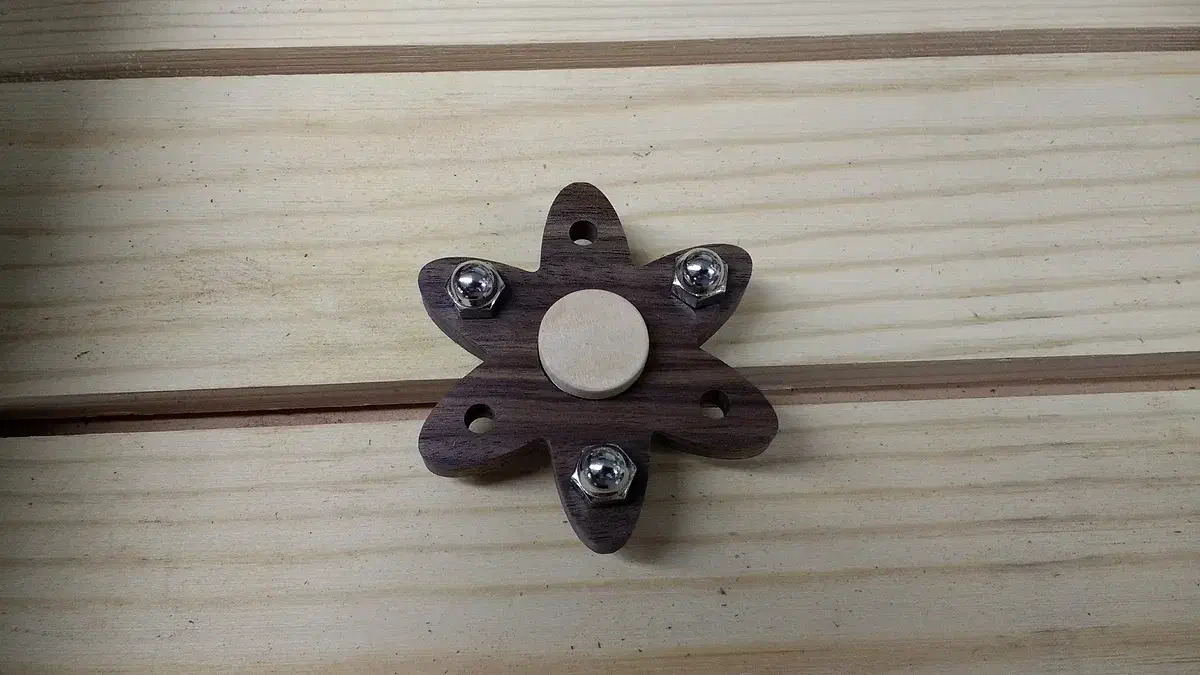
Tanner spaces his finger pads 9 mm apart around a 7 mm-thick bearing, leaving about 1 mm on each side. Start from your own bearing and body thickness, then adjust the stepped pad heights so the wooden faces do not rub while the body spins.

Project notes by Greg Tanner: read the source.

From Fidget Spinner Finger Pads by Greg Tanner.

Ask a question

Make cover openings match the bearing thickness

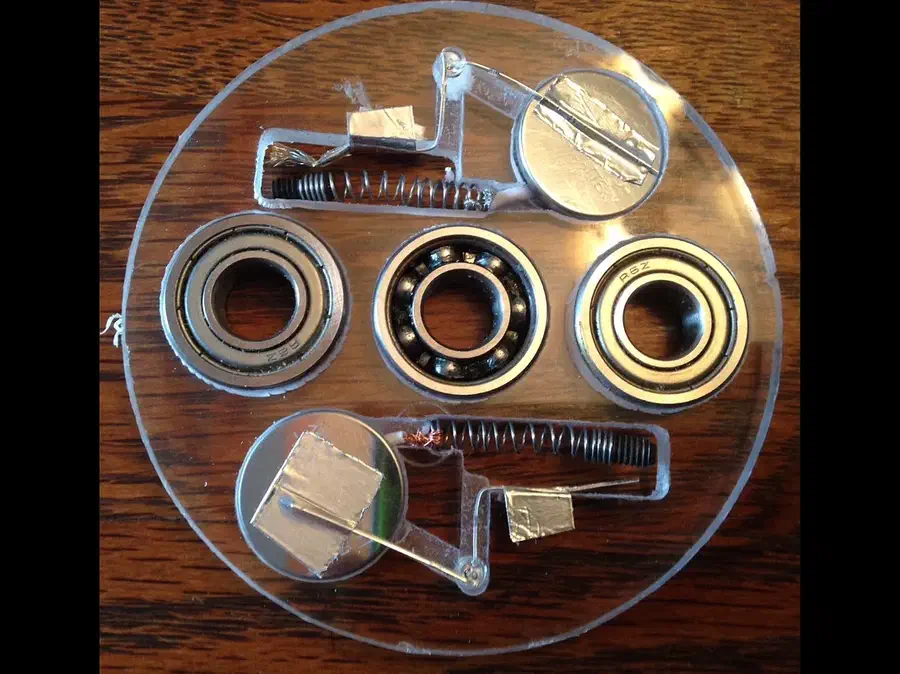
Yahr’s bearings were thicker than his acrylic center plate, so he added openings in the back cover for them. He says thicker acrylic can remove the need for the two outer openings. Compare the actual plate and bearing thicknesses before deciding which covers to cut.

Project notes by Gary Yahr: read the source.

From LED Fidget by Gary Yahr.

Ask a question

Test the circuit before fitting the covers

Yahr installs the battery and tests the LED before closing the spinner. Keep the cover off while checking that the spring’s weighted end moves freely and the light turns on when spun. That sequence leaves the switch accessible if its fit needs adjusting.

Project notes by Gary Yahr: read the source.

From LED Fidget by Gary Yahr.

Ask a question

Start your spinner design

Create a free Easel account to copy a shared design and adjust it for your project. No credit card required.