Carve the pocket, then add color

Make CNC projects with epoxy.

Get a glass-smooth inlay by carving a pocket, pour the epoxy and let it cure, sand, and polish it.

See the real projects

Wood and epoxy

Embed epoxy in wood to create tabletops, coasters, and decorative art.

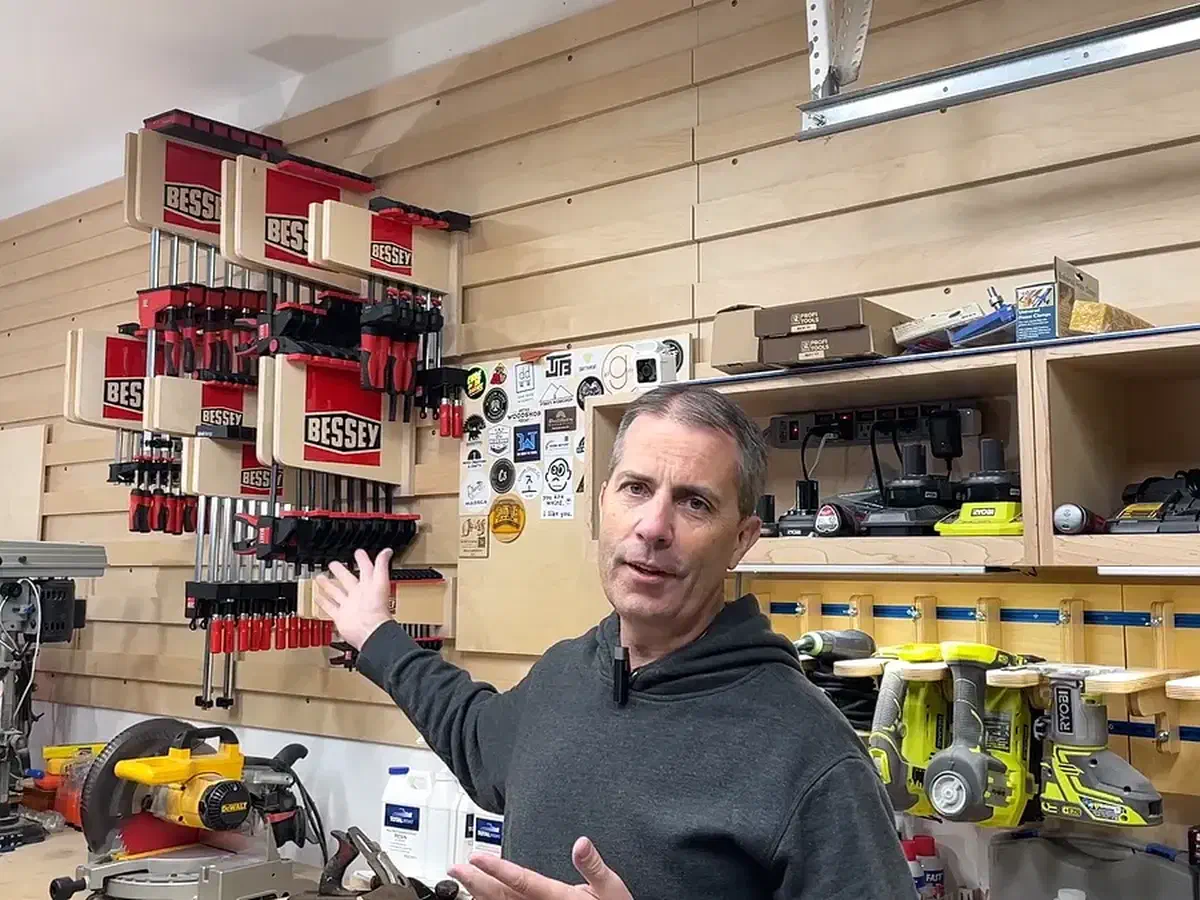
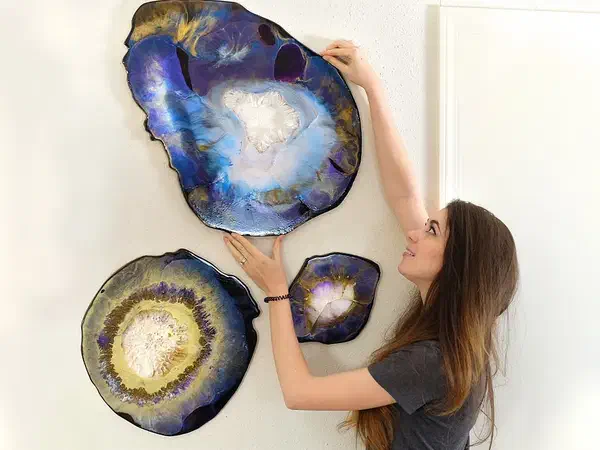
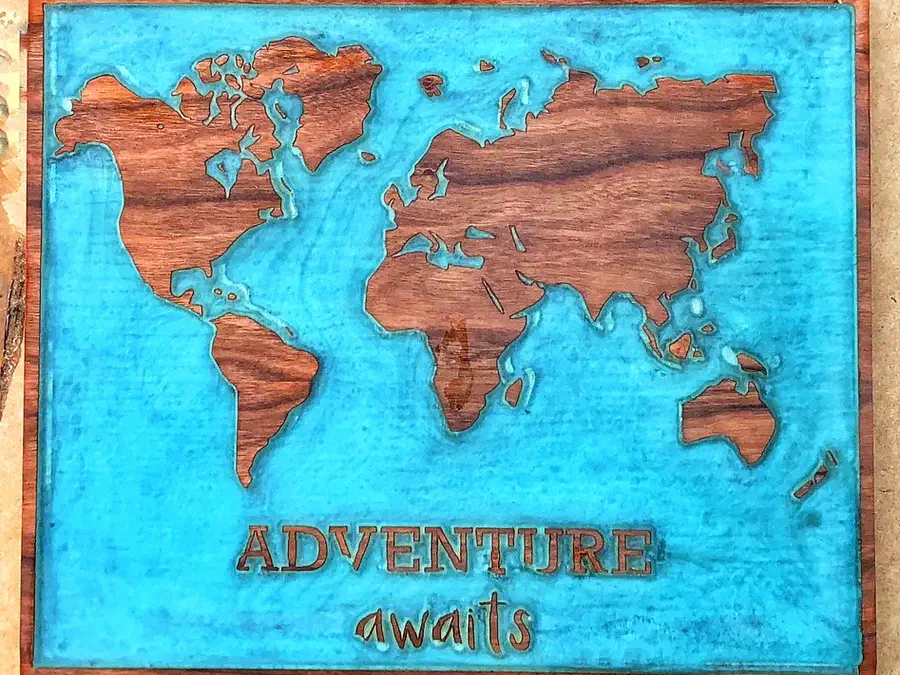
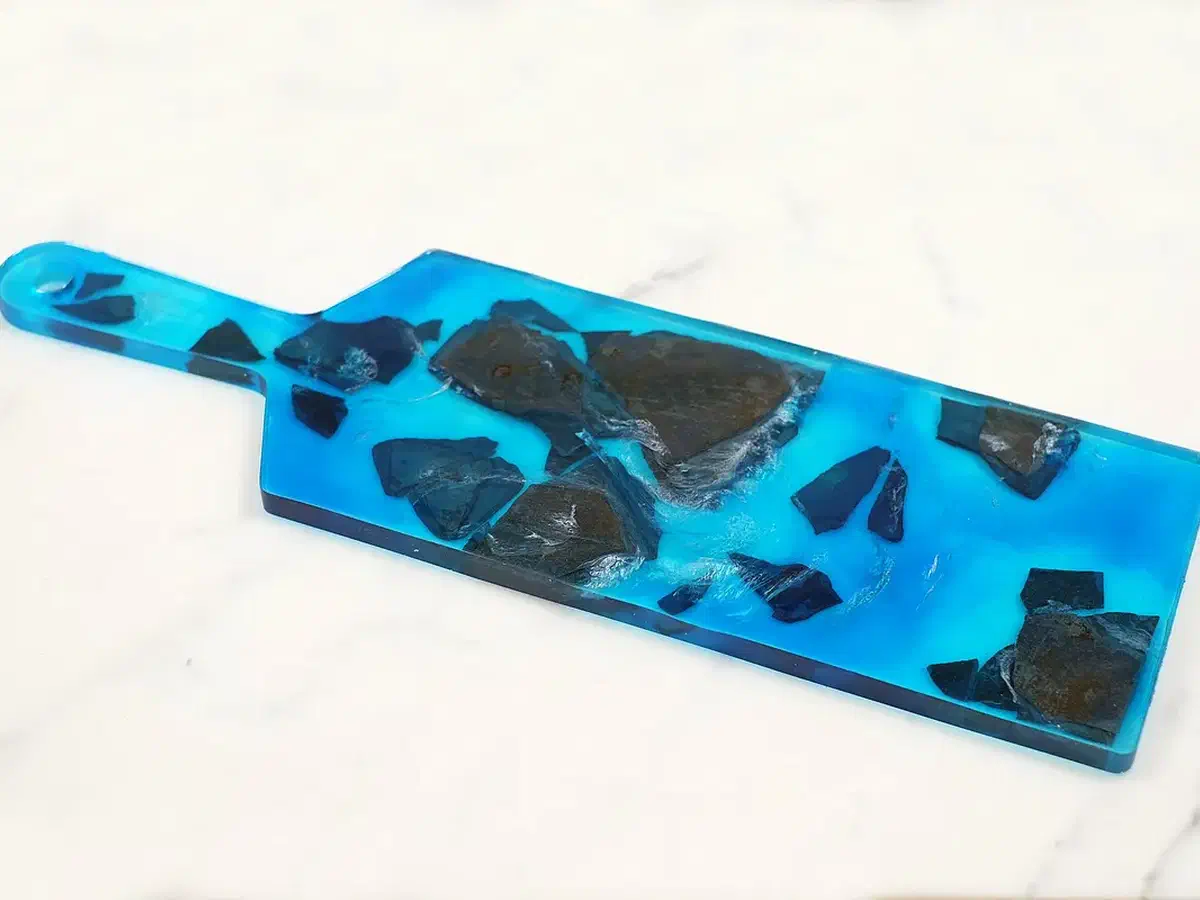
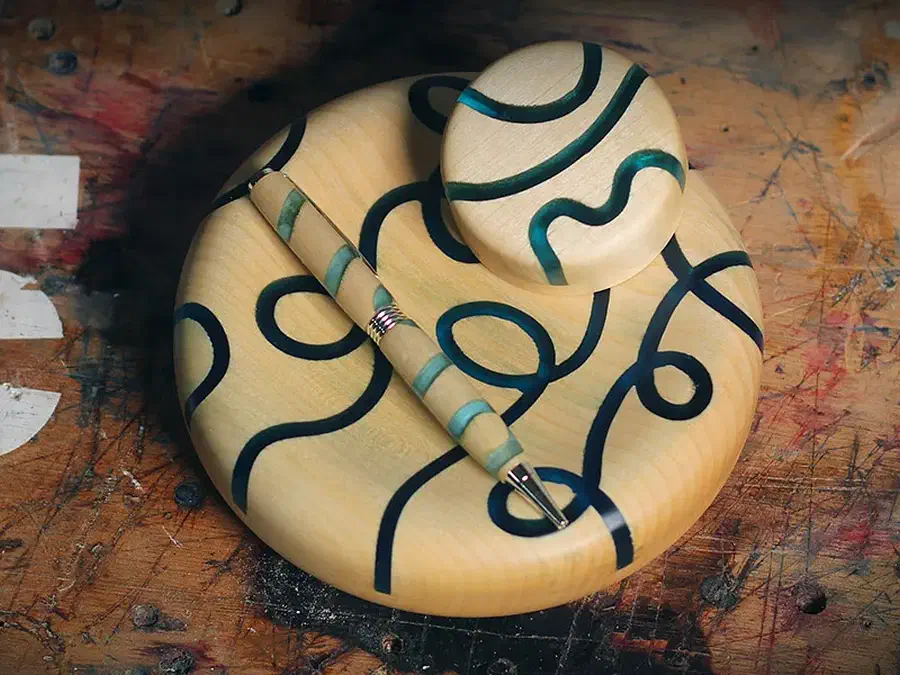
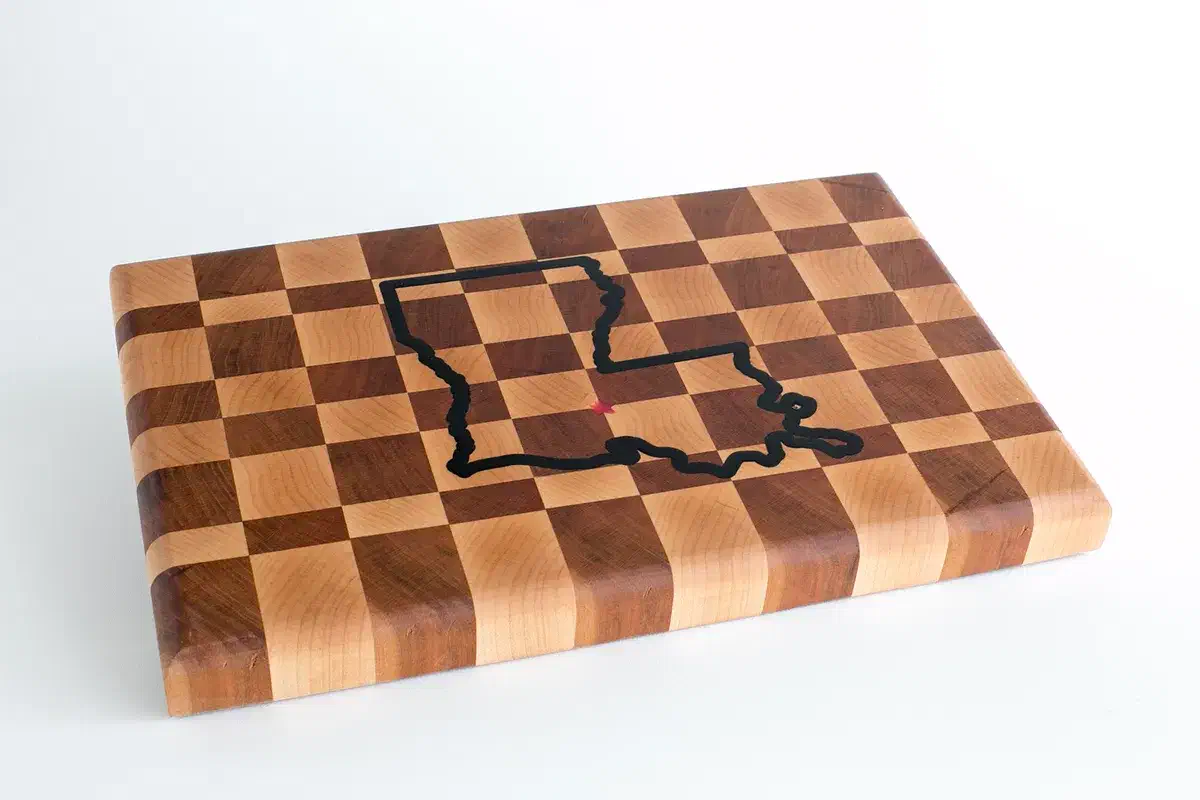
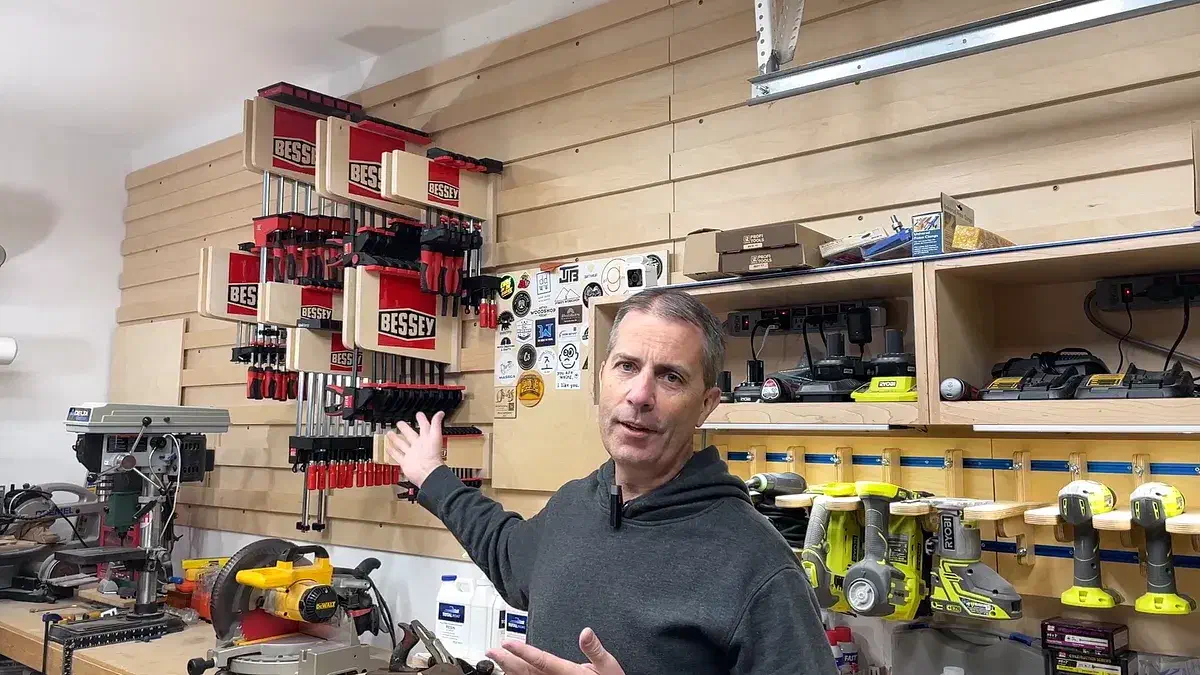
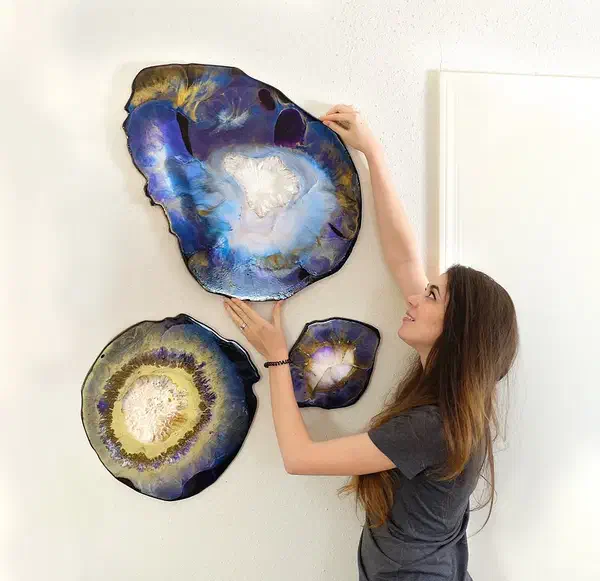
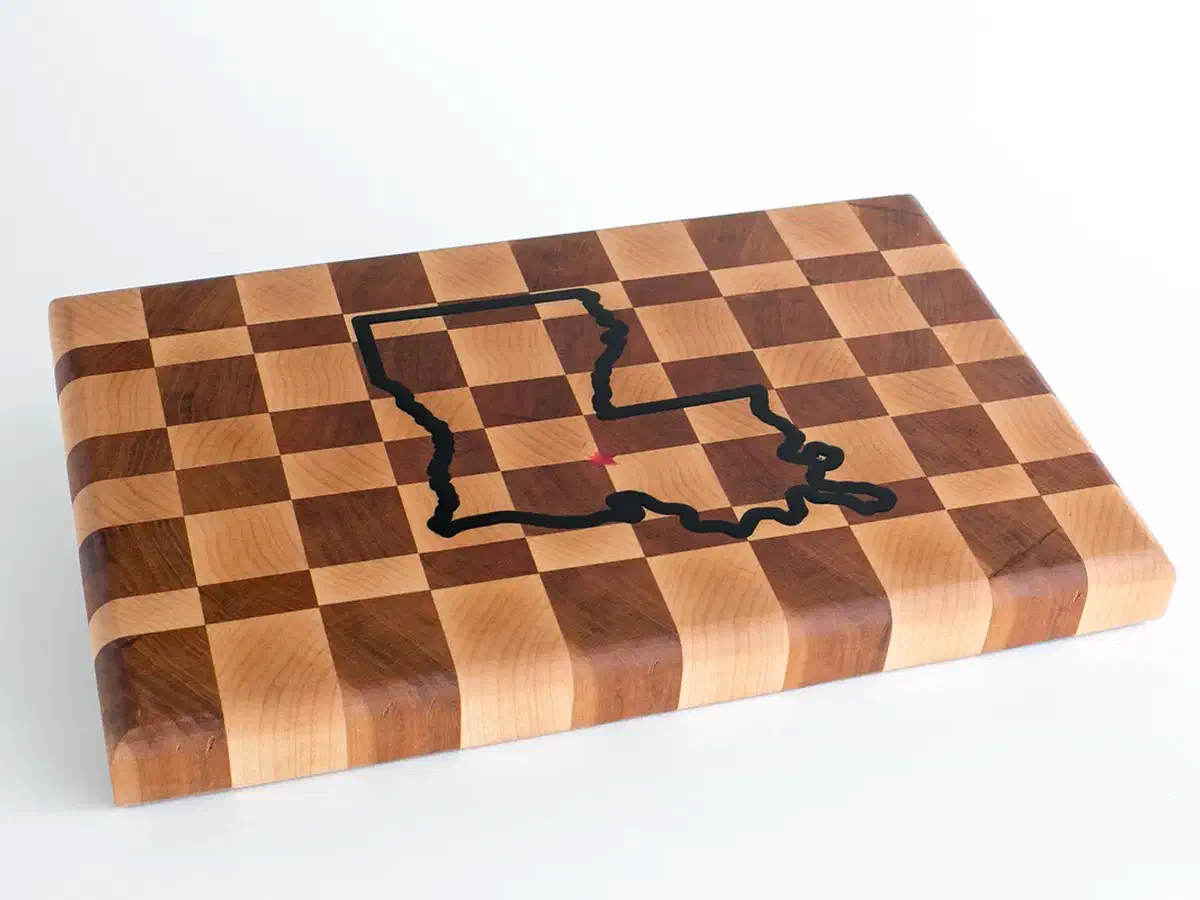
Explore CNC carving with epoxy: a state-outline inlay in a cutting board, red lettering on shop clamp racks, colorful geode wall art, blue oceans on a world map, a cast serving tray, and resin accents in turned wood.

Open the projects for the designs and build instructions, then read the makers’ lessons below. The cutting-board example documents a maker’s process, not a food-contact certification for your resin, colorant, or finished board.

Real projects from the Easel gallery

Fill carved lettering, add color to an inlay, or pour a geode

Each project has a working preview and copy path. Open one to inspect the design, then adapt the size, material, tooling, and resin process for your own shop.

See more epoxy projects →

Lessons from the makers

What these makers learned about epoxy

Lessons from clamp racks, dominoes, and a letter opener, with the original instructions and comments close at hand.

Read the discussions without an account. Sign in to post a question in the project comments.

Fill height changes the look of V-carved lettering

Steve compared straight bits with a 60-degree V-bit for his Bessey logos. With the sloped V-carved sides, a shallow epoxy fill made the lettering look wider; a higher fill made it look narrower. He chose straight bits for a more consistent filled logo. He also noted play in his Z-axis during the V-bit test, so this was not a controlled comparison.

Project notes by Steve Moseley: read the source.

From Bessey Clamp Racks with Epoxy Logo by Steve Moseley.

Ask a question

Tint can travel beyond the carved pocket

Steve reports tinted epoxy traveling as far as two inches through wood outside a carved area, leaving discoloration he could not sand away. For his clamp racks, he applied two coats of water-based topcoat before the pour and kept the glue edges uncoated. That is his documented finish combination, not a compatibility guarantee for other resins and sealers.

Project notes by Steve Moseley: read the source.

From Bessey Clamp Racks with Epoxy Logo by Steve Moseley.

Ask a question

Filled dots took longer than painted dots

Sarah tried epoxy-filled pips on her dominoes and found painting much faster. The filled look was worth considering, but the epoxy dots spread after looking full. She worked in small batches, filling one number at a time. Her build gives you a real comparison to weigh before choosing that finish.

Project notes by Sarah Milne: read the source.

From Mexican Train Dominoes by Sarah Milne.

Ask a question

Leave the epoxy that holds an inlay in place

John ground too much epoxy off the back of his leather-and-ebony letter opener and freed the ebony pins it was holding. Later, sanding the ebony left black dust on the white inlay, which he removed with a chisel. His build shows two finishing problems that only became visible after shaping.

Project notes by John Z Zhu: read the source.

From Tanto Letter Opener by John Z Zhu.

Ask a question

Make a CNC epoxy project of your own

Start with a real community design, adapt the pocket or base for your material, and prepare the carve in Easel before you mix the epoxy.